Simulator
On the Simulator page of Alipay+ Linker Merchant (also called "AMerchant"), you can perform testing for Alipay+ payment products.
- Open AMerchant and make sure all the required configurations are ready. For more information, see Step 1: Confirm configurations.
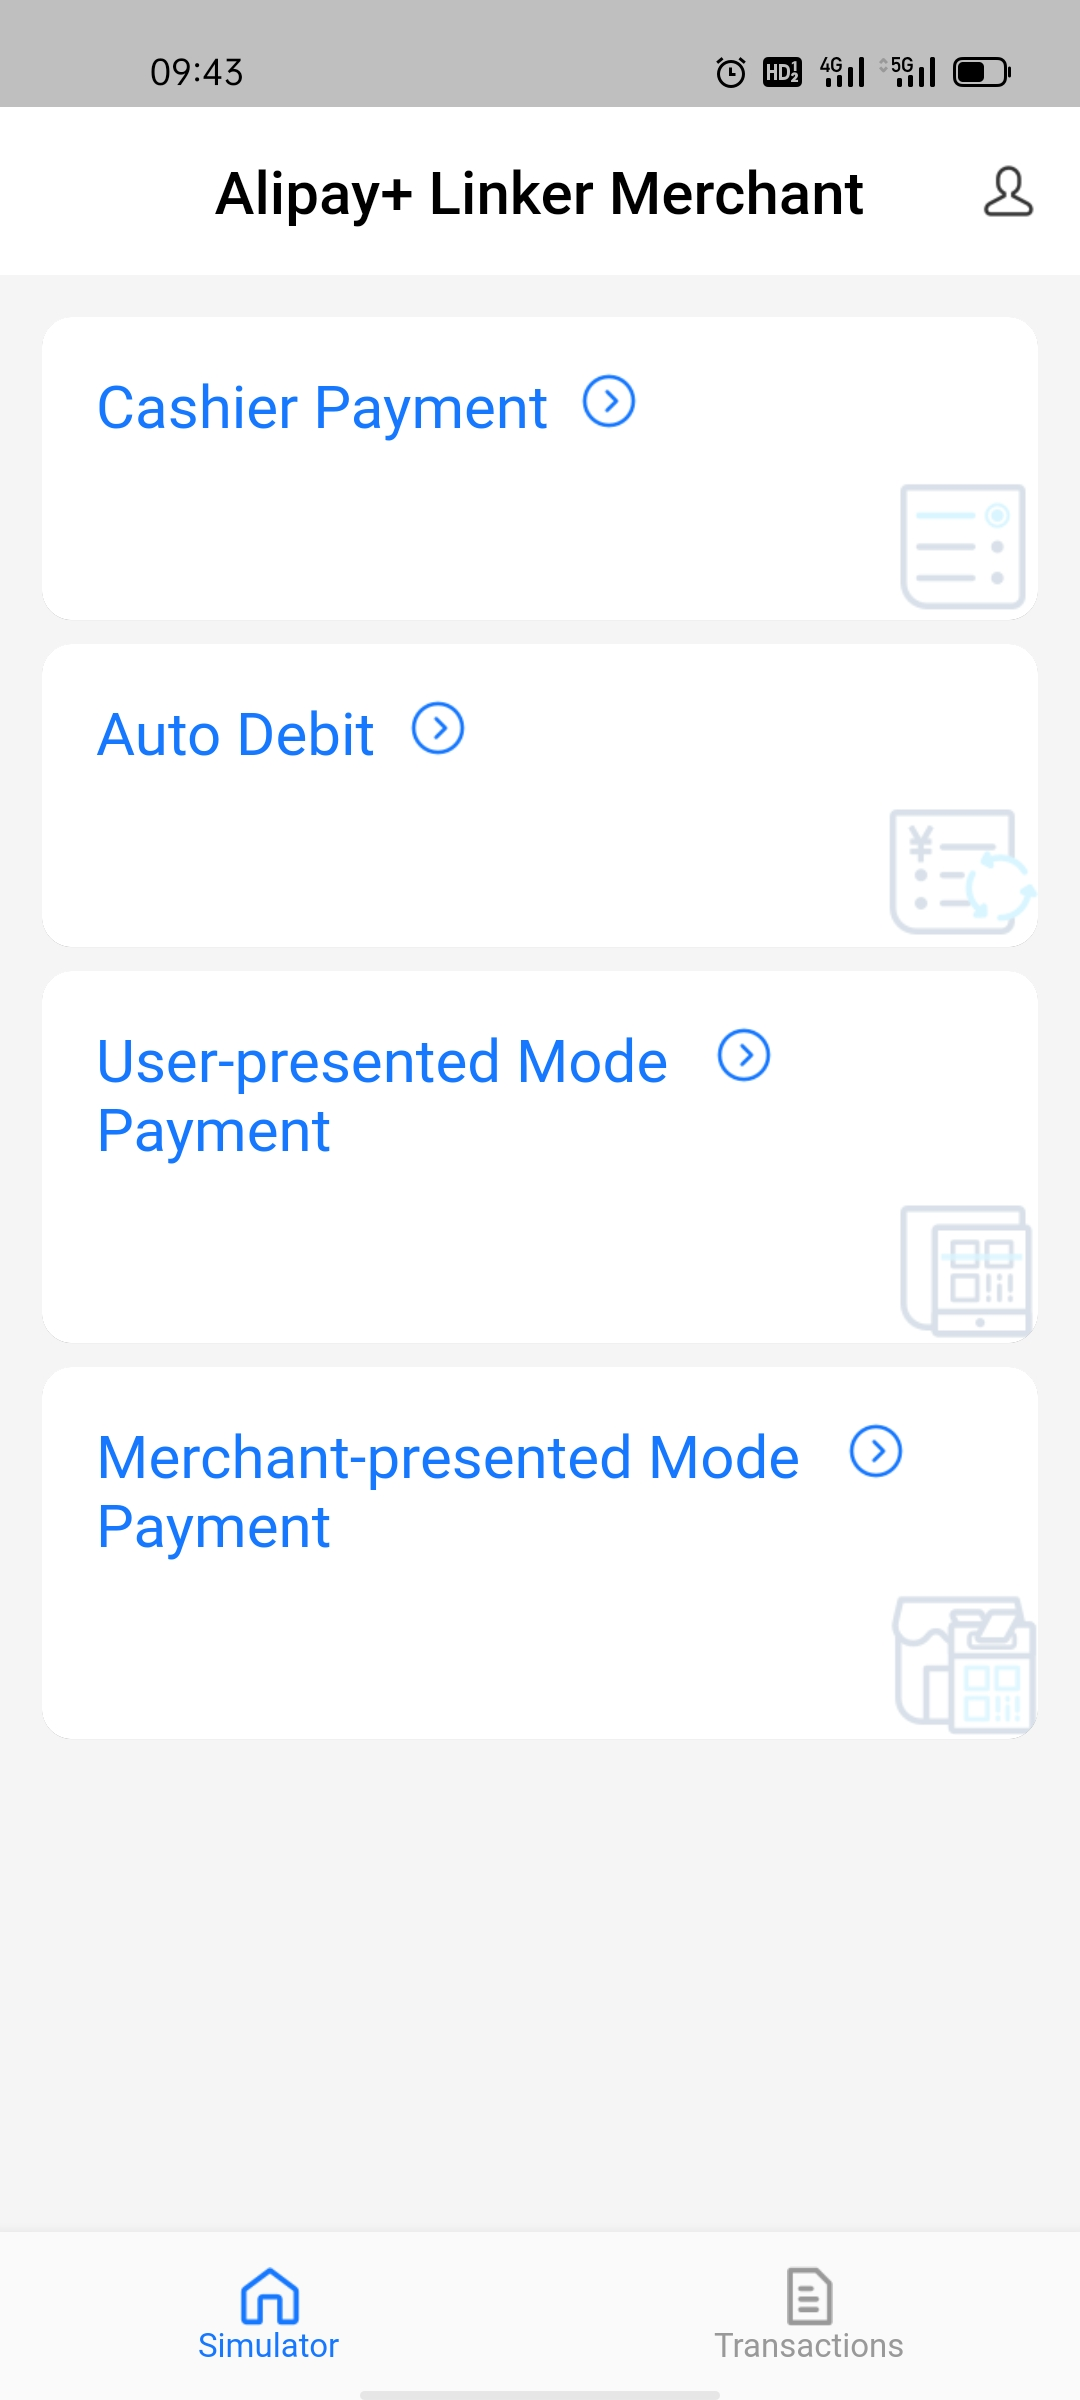
- Go to the Simulator page, where you can see Alipay+ payment products.
- Complete the settings for further testing any of the payment products.
Note: This step is only necessary for those who are logged in for the first time. Skip this step if you have already completed the settings.
- When you are logged in or tap any of the payment products, a pop-up window reminds you of completing the settings. Tap Confirm.
- Tap the Acquirer section to pull up the Acquiring Partner list.
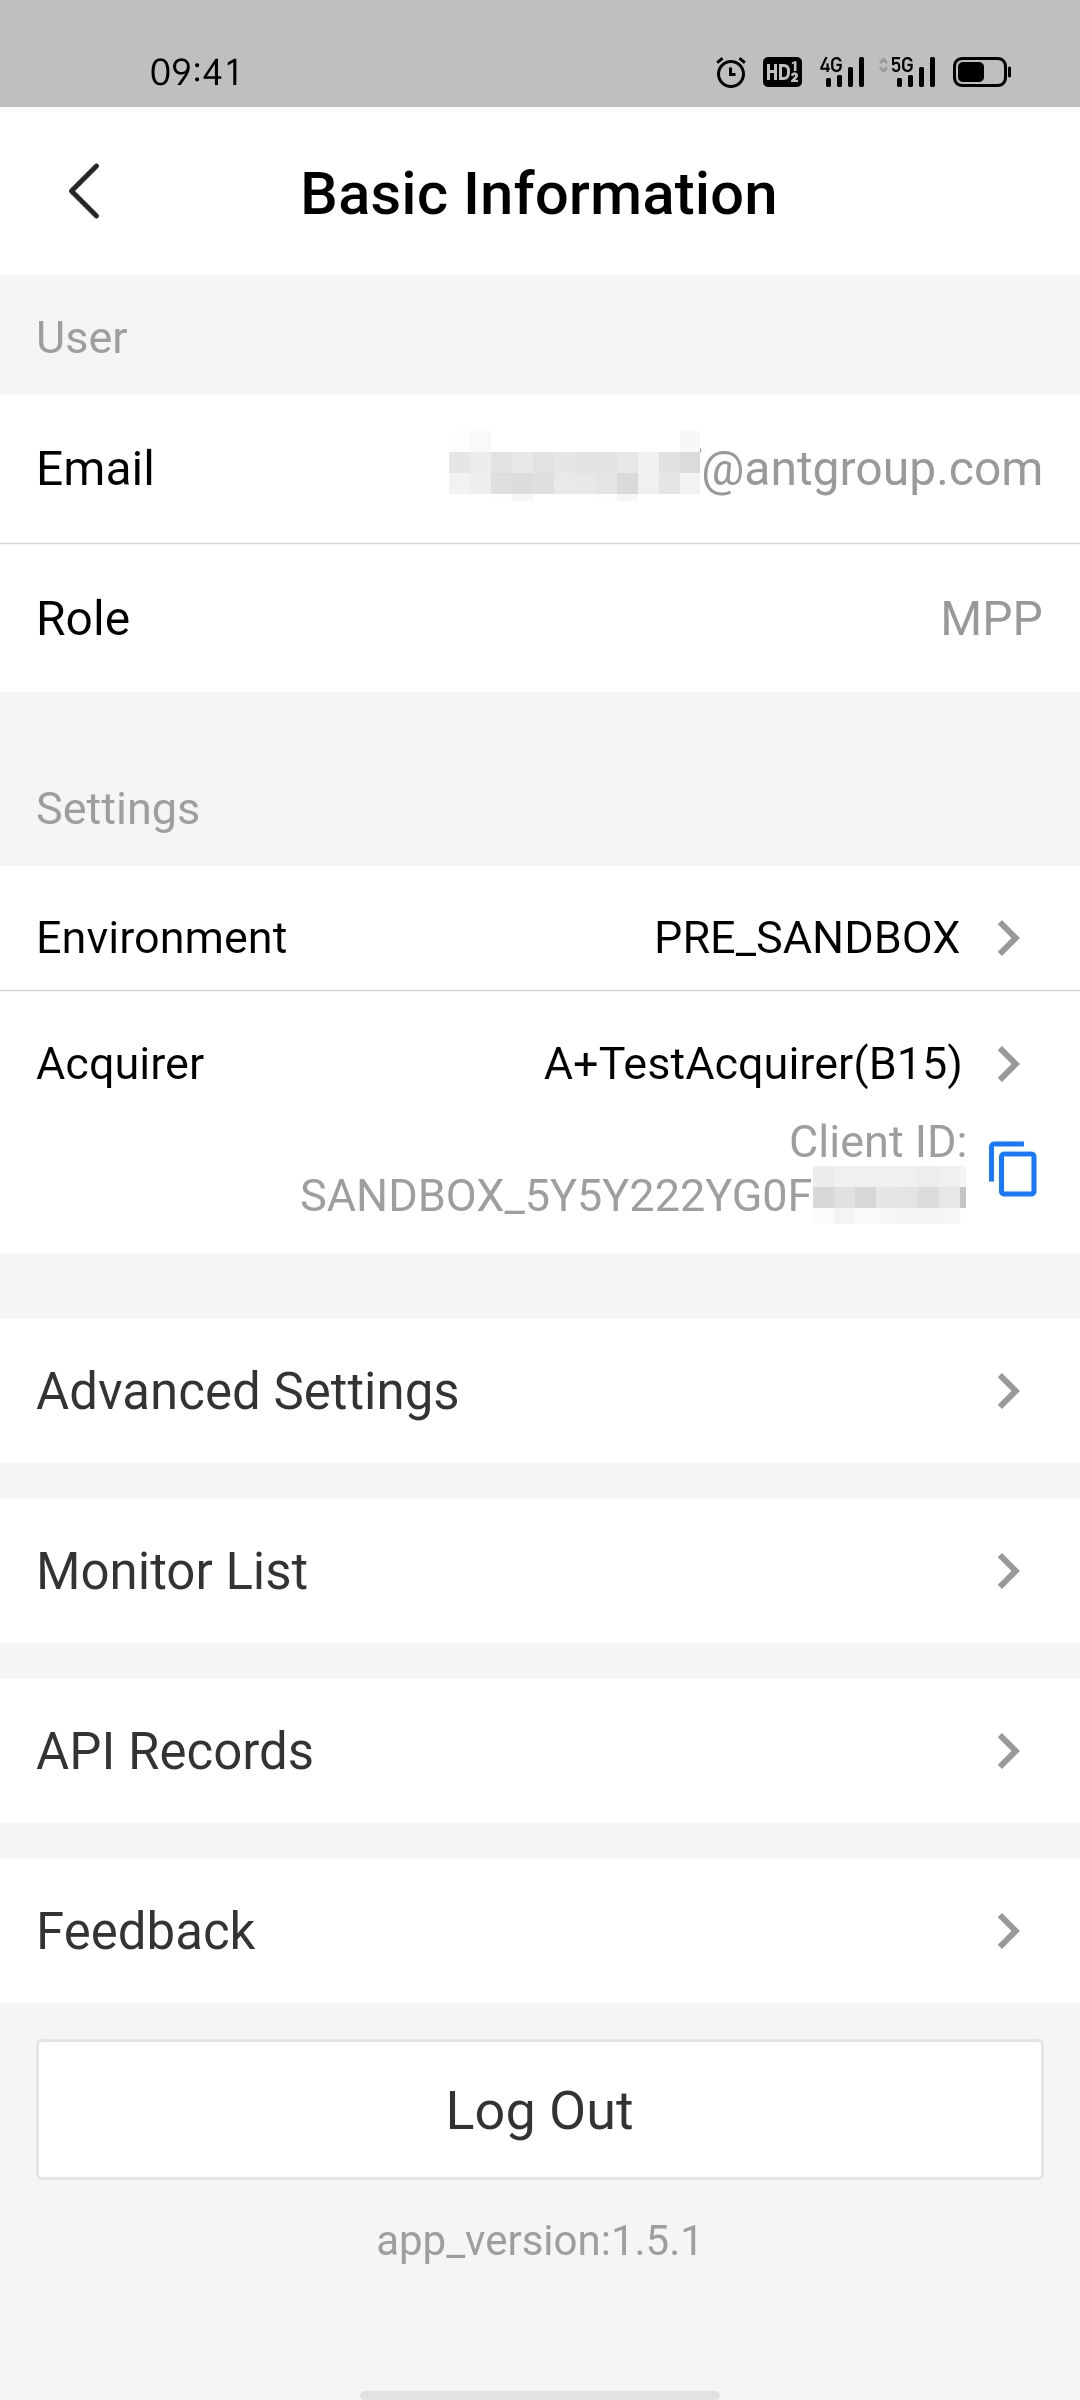
c. Select an Acquiring Partner from the list. Then, the corresponding client ID is automatically assigned to you.
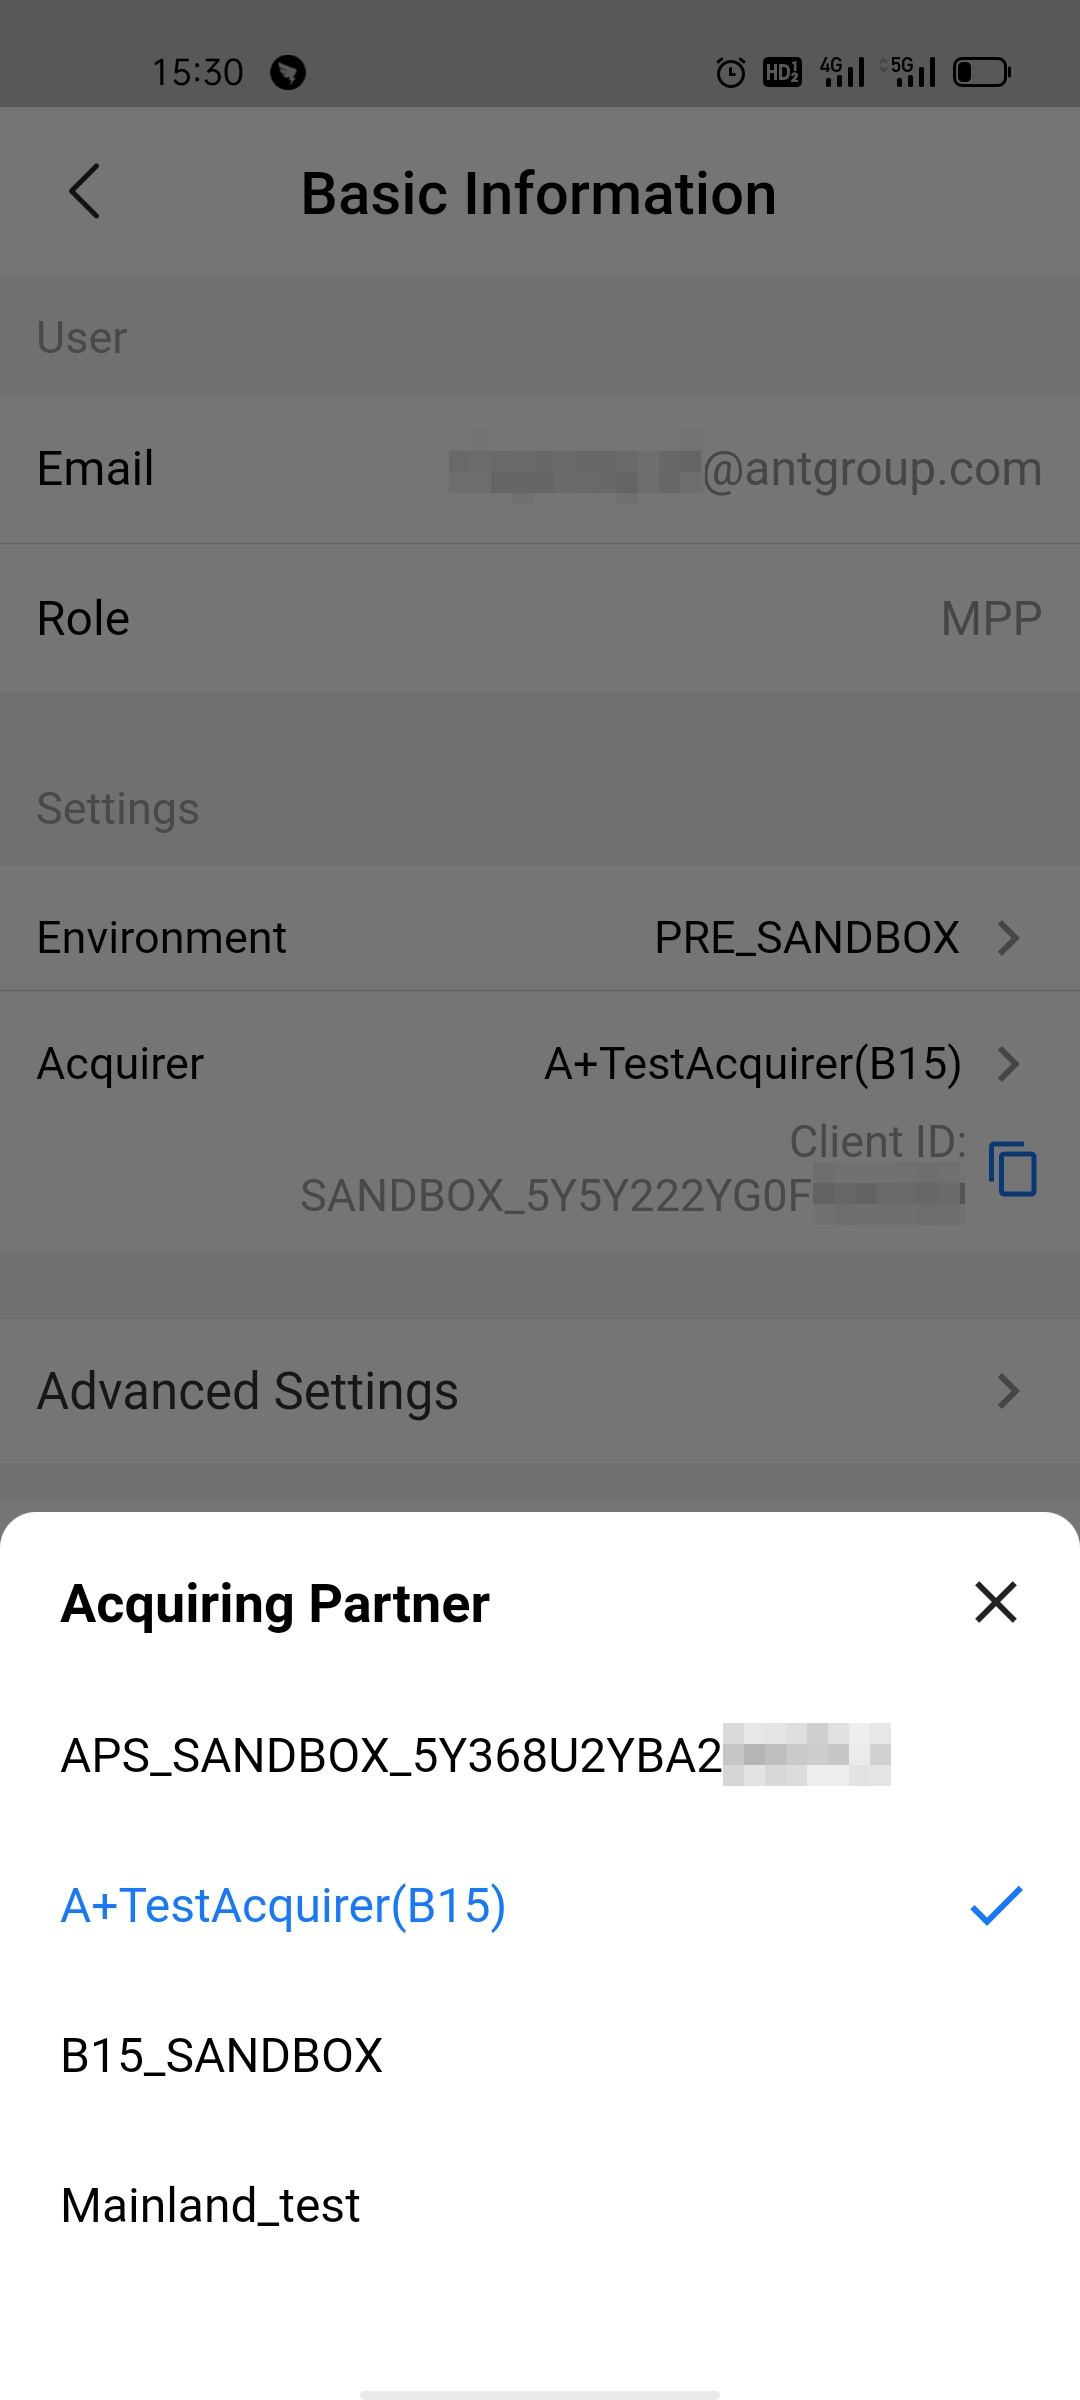
If you want to change the settings during testing, you can tap the avatar icon in the top-right corner of the Simulator page and then, take the preceding steps b~c.
- Select one of the following four payment products and start testing:
- Cashier Payment: For more information, see Cashier Payment.
- Auto Debit: For more information, see Auto Debit.
- User-presented Mode Payment: For more information, see User-presented Mode Payment.
- Merchant-presented Mode Payment: For more information, see Merchant-presented Mode Payment.
Cashier Payment
Cashier Payment occurs when a user purchases the merchandise on the merchant's online site and the user is redirected to the checkout page to complete the payment.
To test Cashier Payment via AMerchant, take the following steps:
- Tap Cashier Payment on the Simulator page.
- The Cashier Payment page displays the parameters that are required to specify to send a consultPayment request. The consultPayment API is used by the Acquiring Service Provider (ACQP) to retrieve available payment methods from Alipay+.
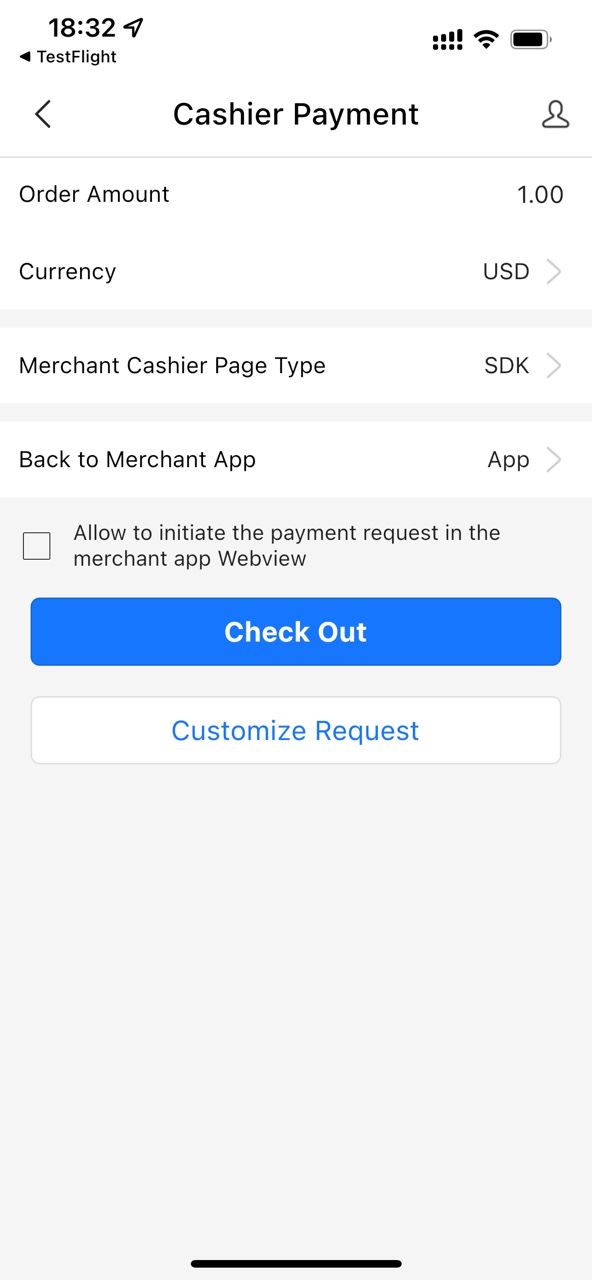
Fill in the following fields to continue:
- Order Amount: Enter a value.
- Currency: Select a currency that you want to test.
- Merchant Cashier Page Type: Select the type of the merchant cashier page.
- SDK
- WAP
- Back to Merchant App: Select the method by which the user is redirected to the merchant app.
- App
- H5
Moreover, if you want to edit the request body directly, tap Customize Request.
- Tap Check Out to go to the Order Information page, where the order information, including the commodity name, the commodity number, and the order amount is displayed.
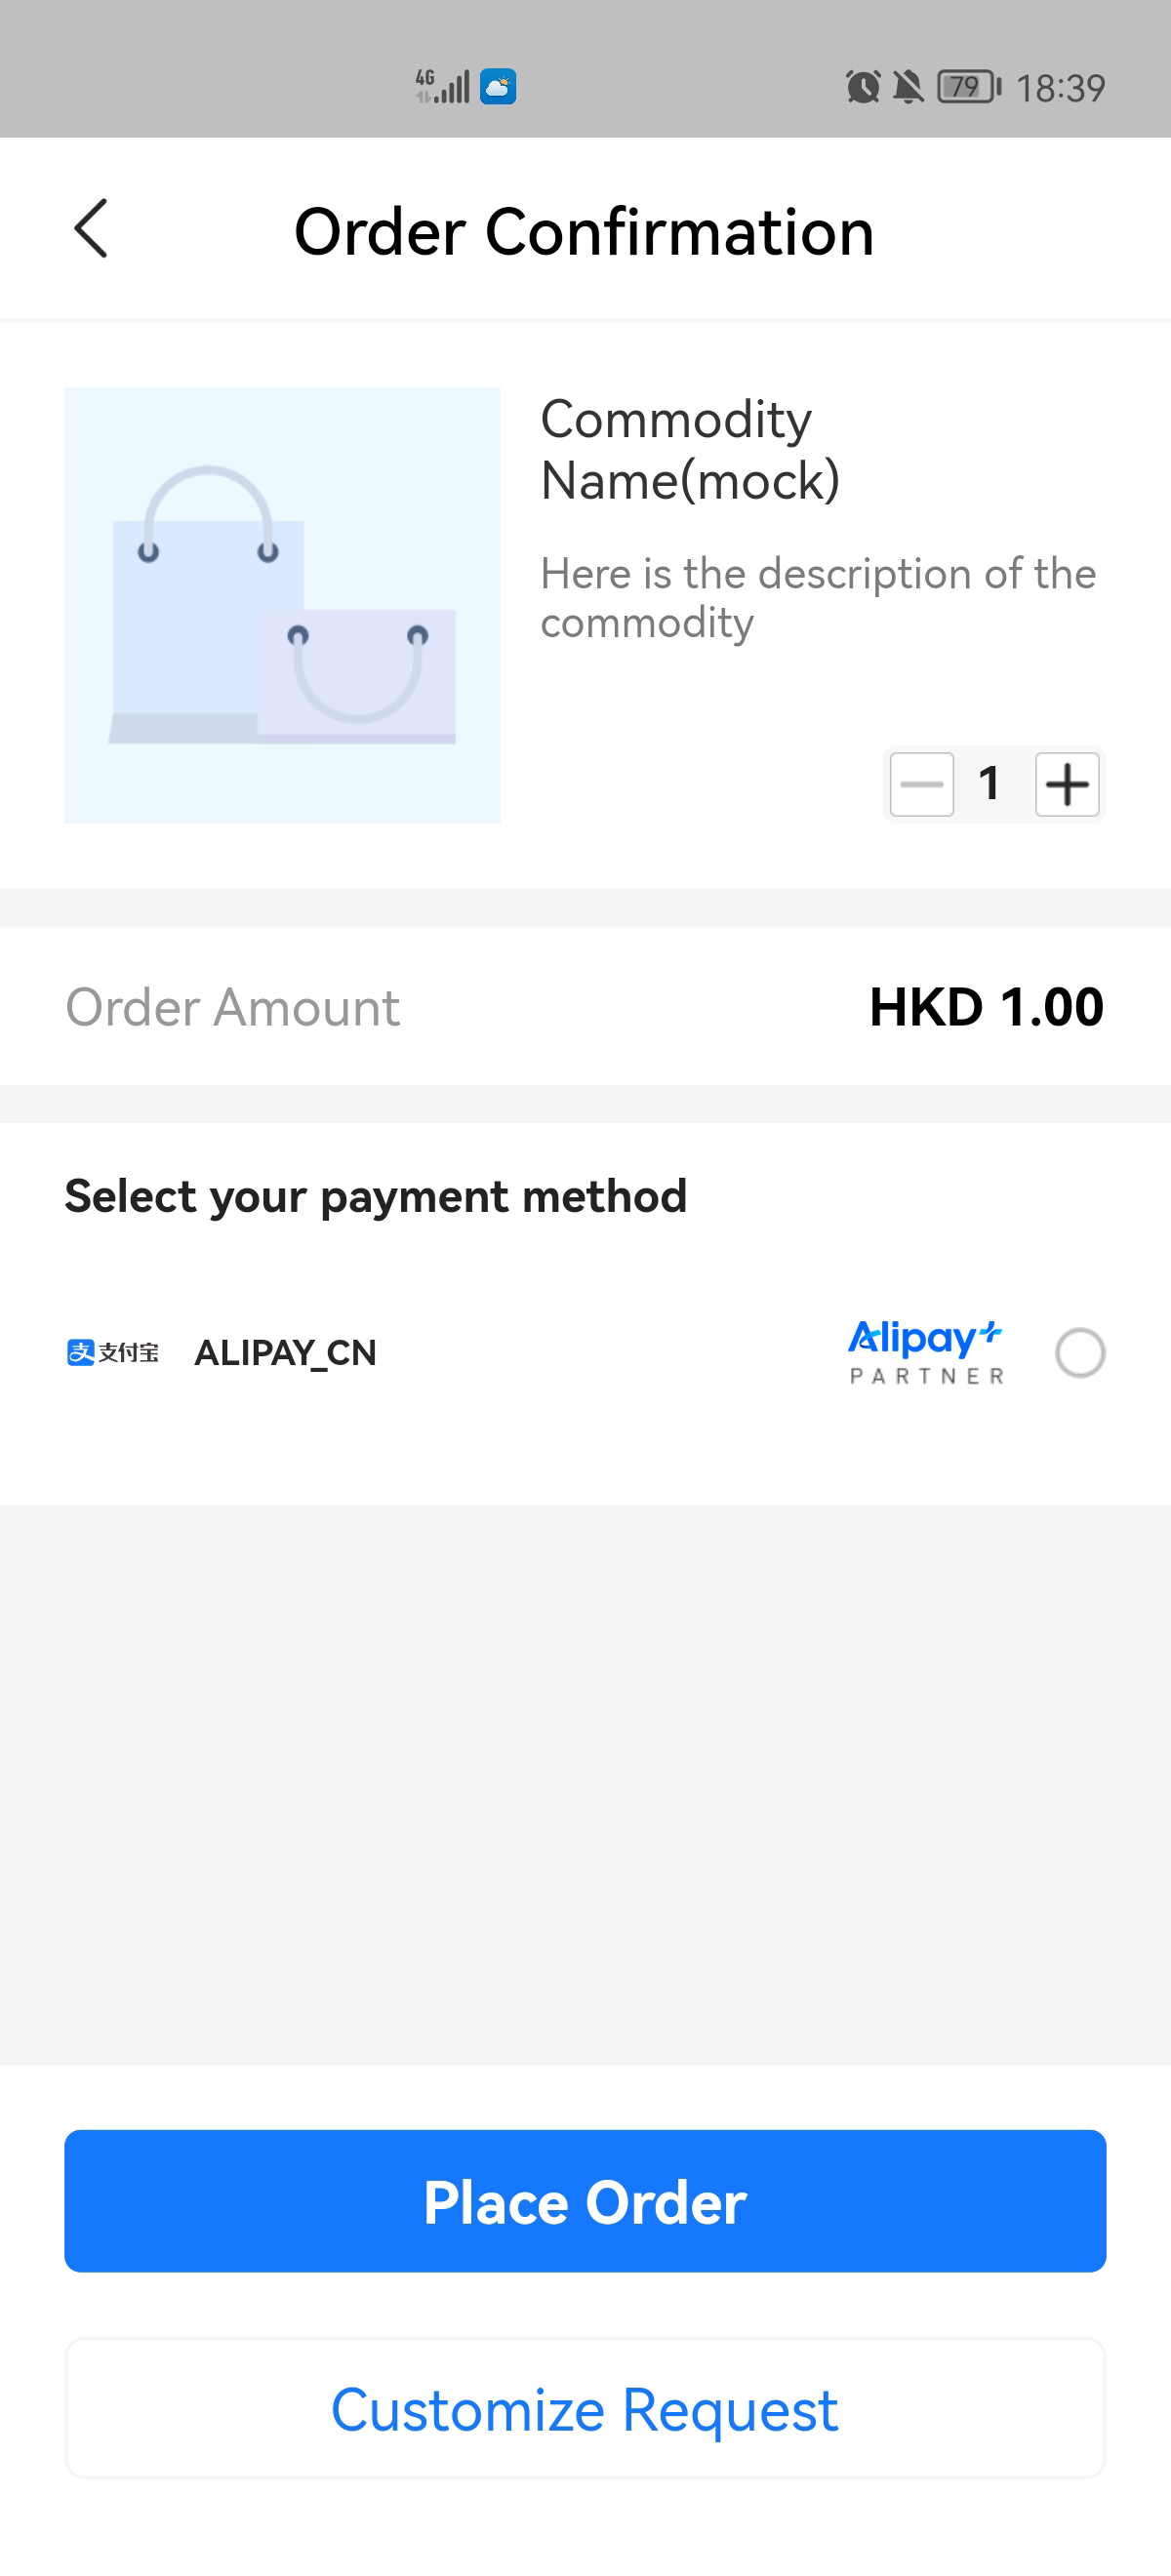
- Select one payment method and tap Place Order.
Note: If you want to add available payment methods, contact the Alipay+ Solution Architect to add them to the available payment methods list.
Moreover, if you want to edit the request body directly, tap Customize Request.
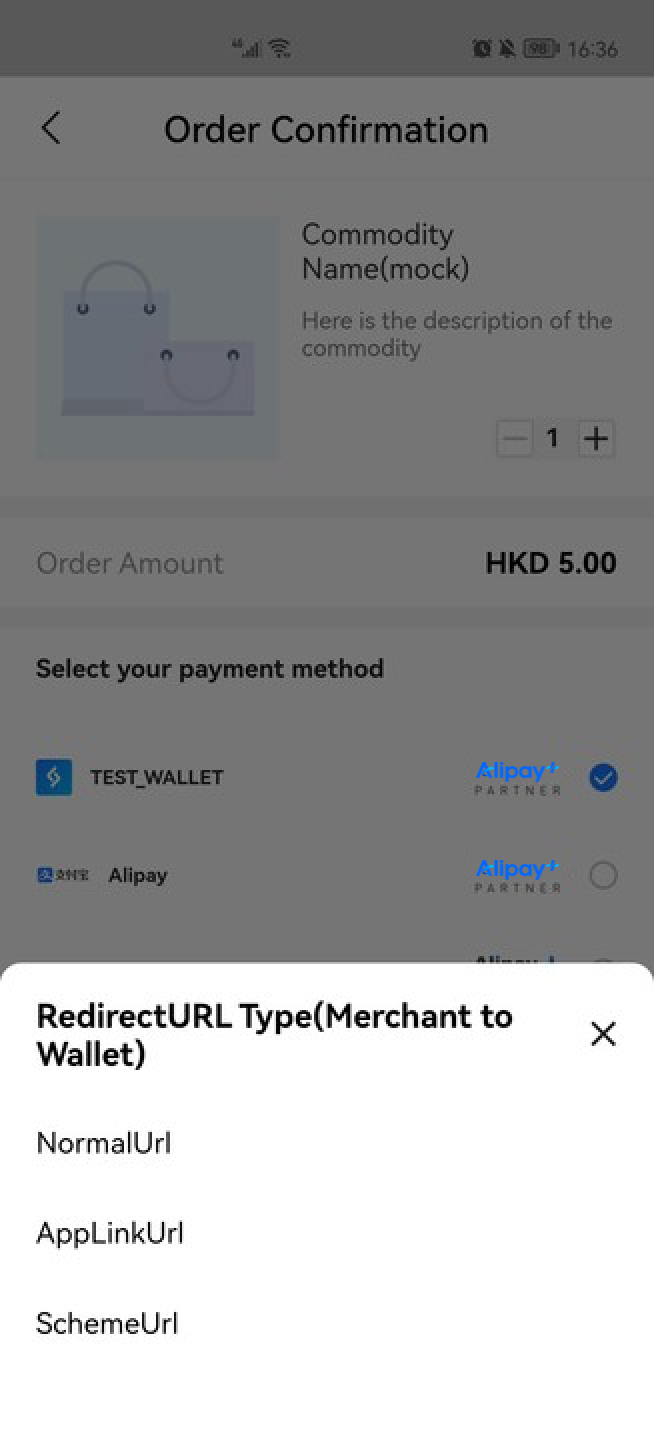
- Select a URL type for redirection from the following three types:
- NormalUrl: indicates the URL that redirects the user to a WAP or Web page in the browser or the WebView.
- AppLinkUrl: indicates the URL that redirects the user to open an app, or, if no app is installed, to a WAP page.
- SchemeUrl: indicates the URL scheme that redirects the user to open an app.
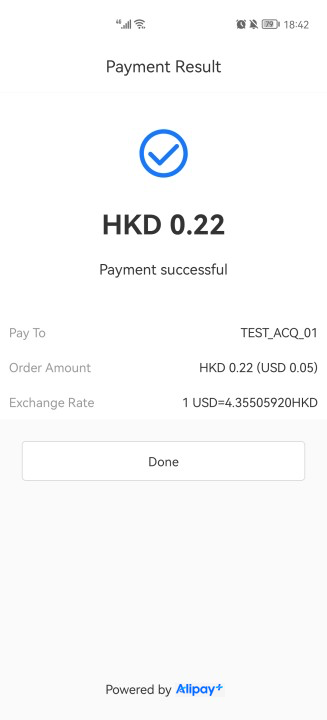
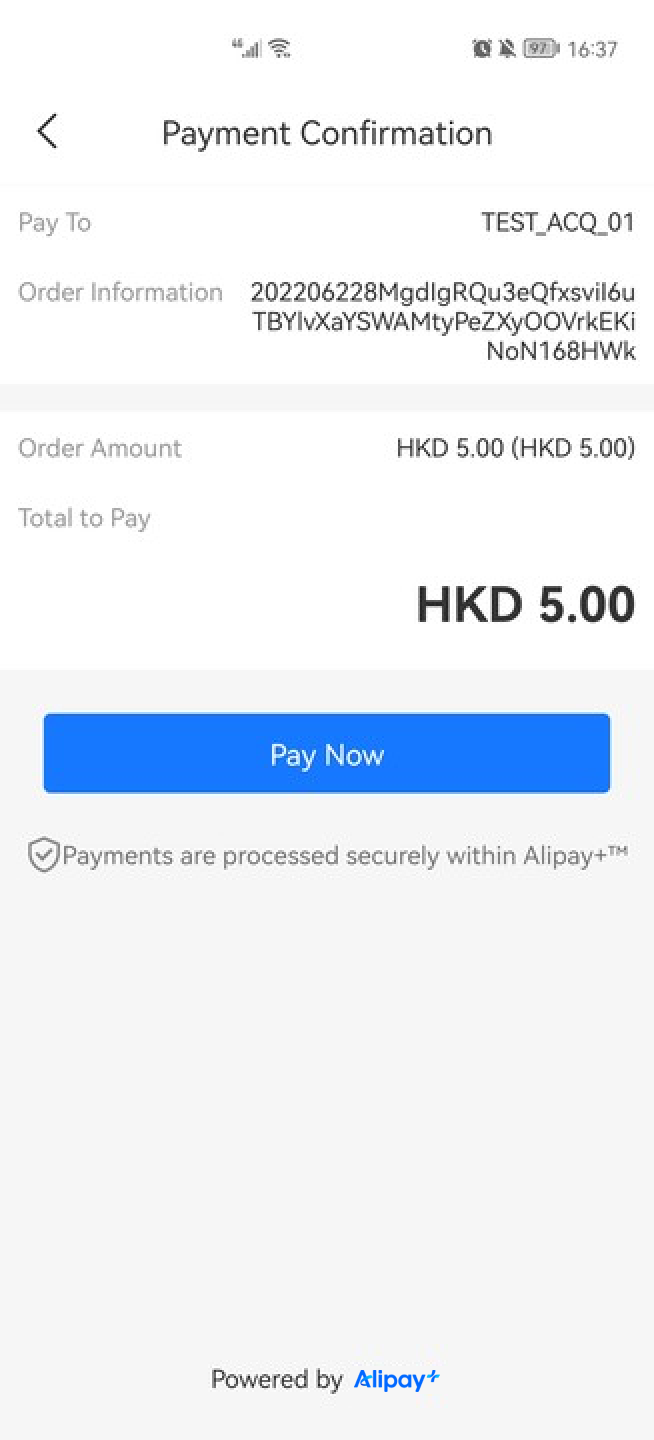
- Tap Pay Now to complete the payment.
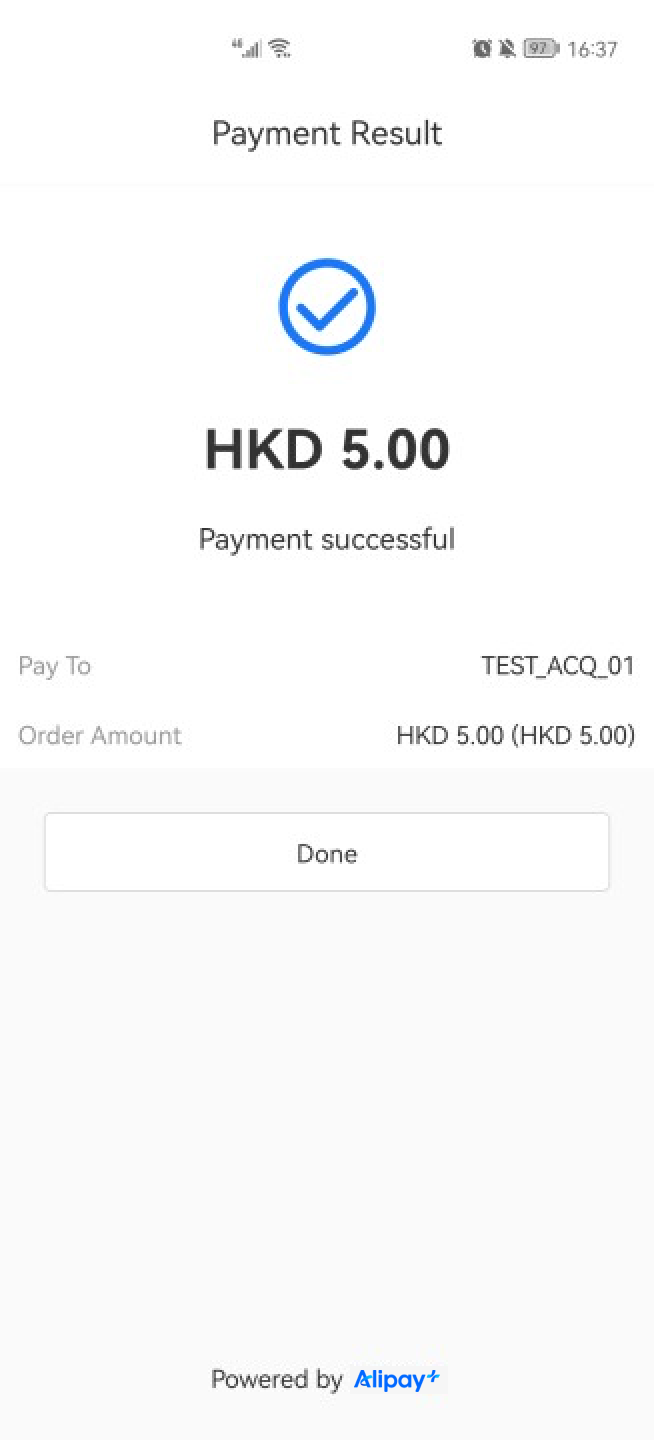
- Tap Done to go back to the Simulator page.
Auto Debit
Auto Debit occurs when a user pre-authorizes and links his/her digital wallet account with the merchant app account so that the merchant can directly deduct funds from the user's account upon each transaction.
To test Auto Debit via AMerchant, take the following steps:
- Tap Auto Debit on the Simulator page.
- The Auto Debit page displays all the parameters that are required to specify to send a pay request. In the Auto Debit scenario, the pay API is used by the ACQP to send a request to deduct funds from the user's MPP account.
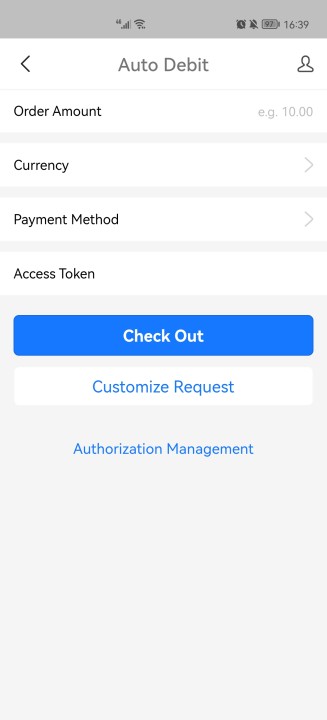
Fill in the following fields to continue:
- Order Amount: Enter a value.
- Currency: Select a currency that you want to test.
- Add a payment method
- Tap Authorization Management.
- Tap Add Payment Method to see all the available payment methods.
Note: If you want to add available payment methods, contact the Alipay+ Solution Architect Team to add them to the available payment methods list.
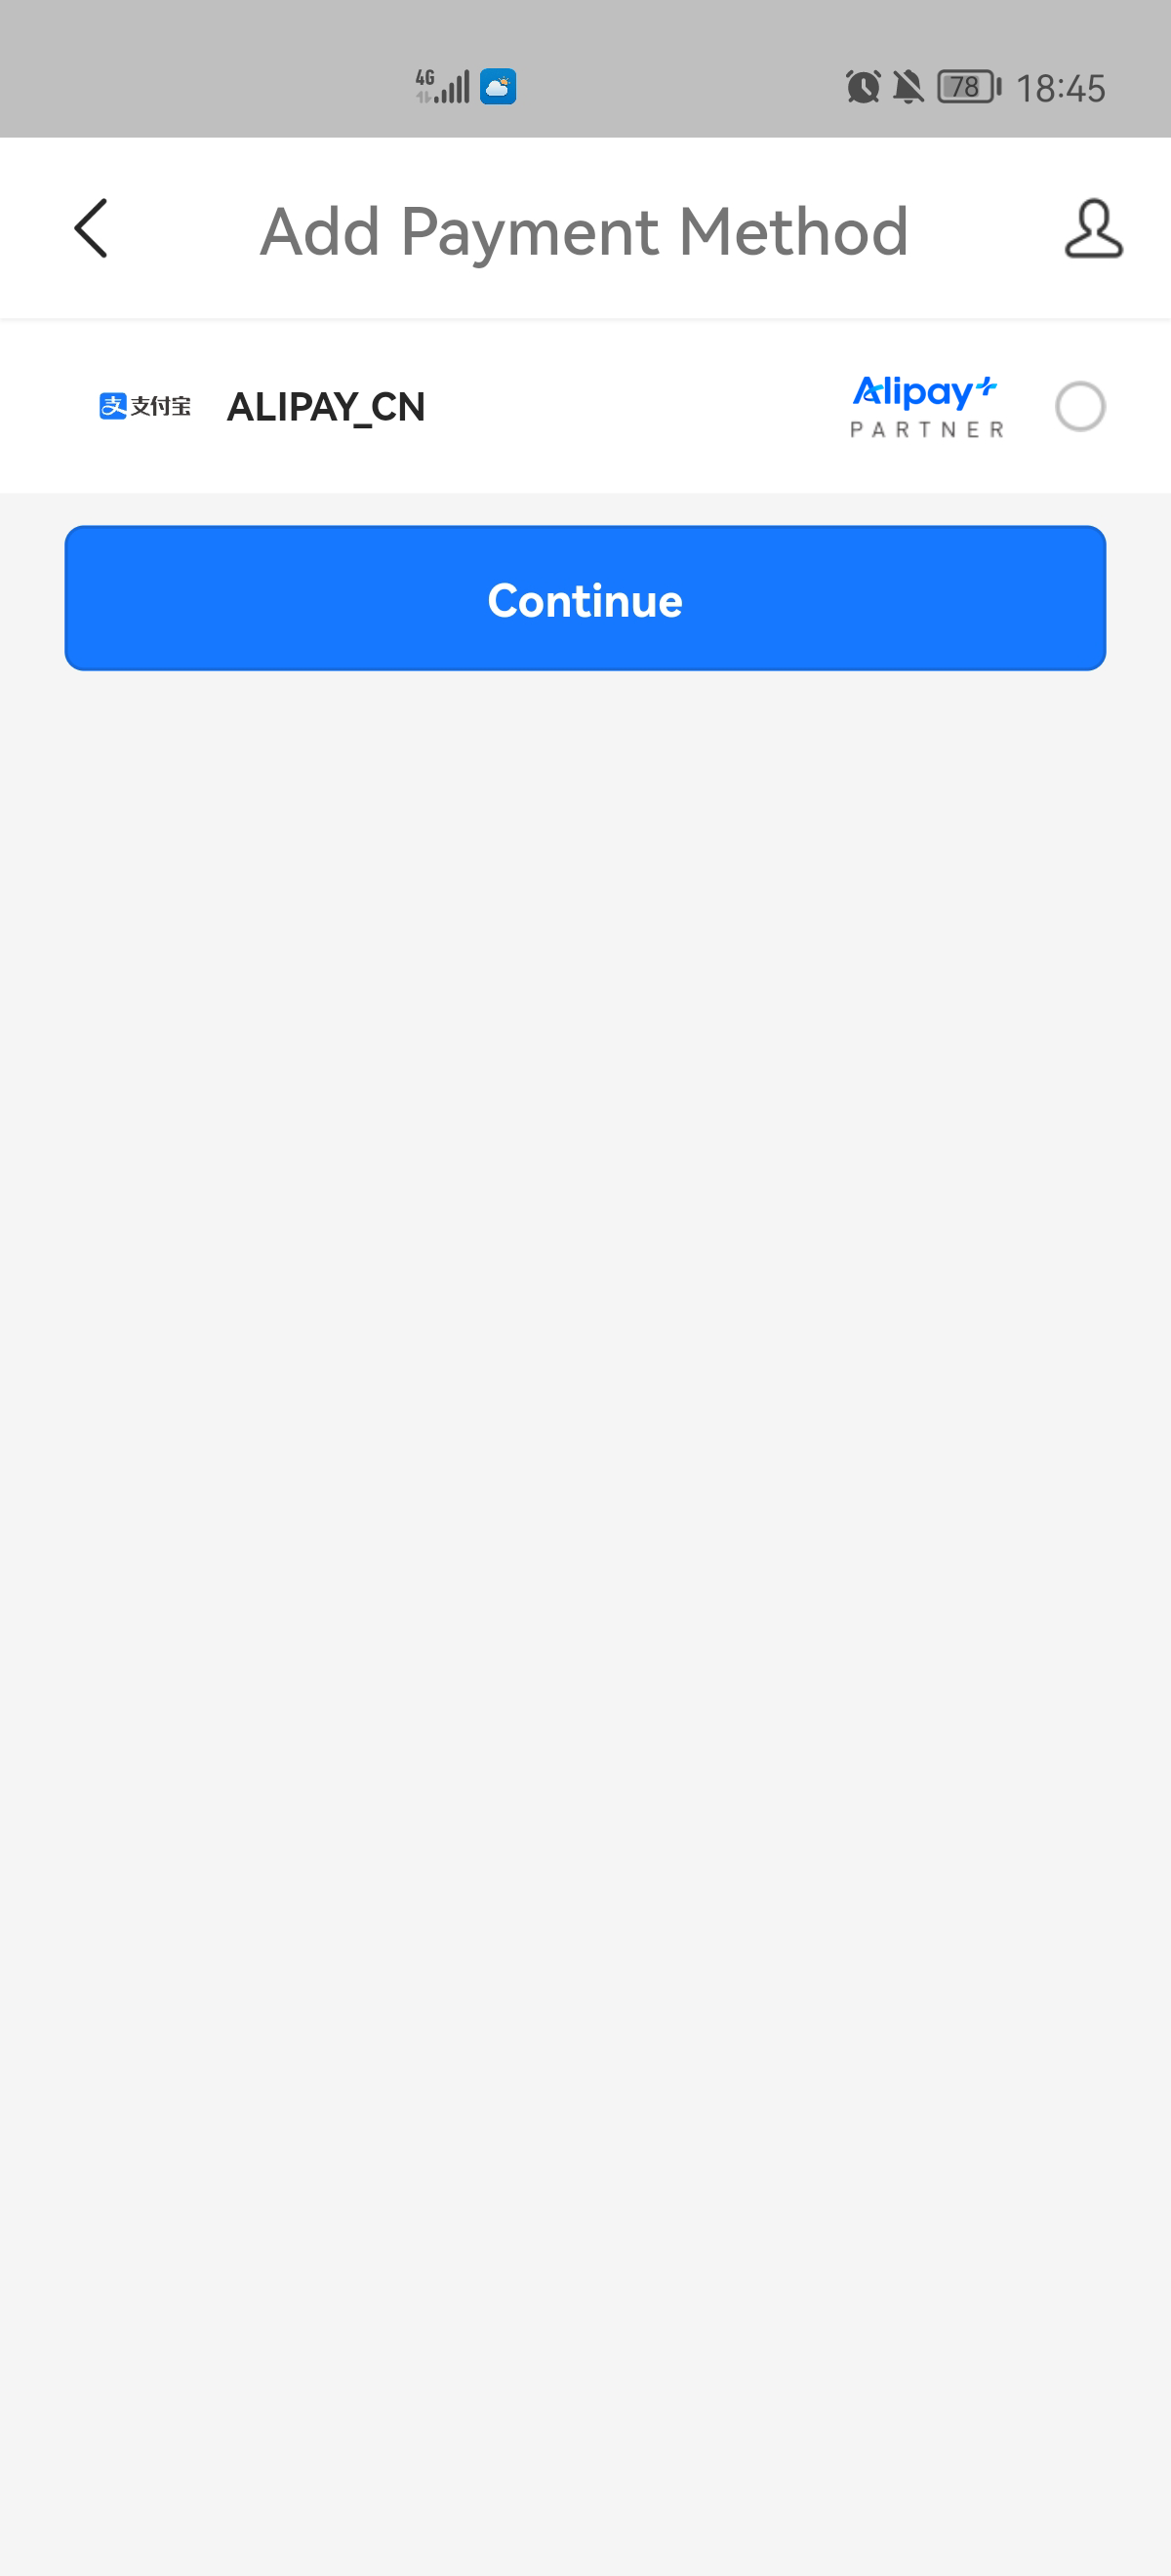
c. Select a payment method and tap Continue.
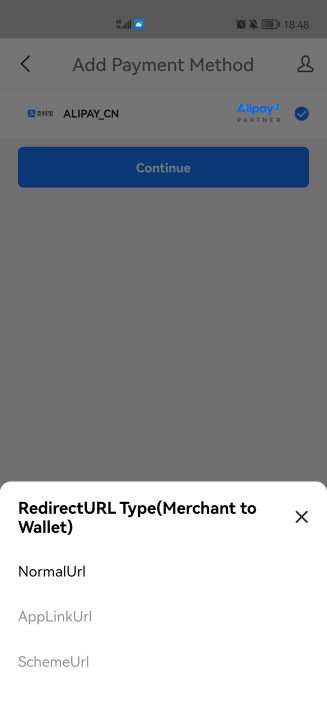
- Select a type of redirection URL from the following three types:
- NormalUrl: indicates the authorization URL that redirects users to a WAP or Web page in the browser or the WebView.
- AppLinkUrl: indicates the authorization URL in the form of a link that redirects users to an app, or, if no app is installed, to a WAP page.
- SchemeUrl: indicates the authorization URL in the form of a URL scheme, which redirects users to an app.
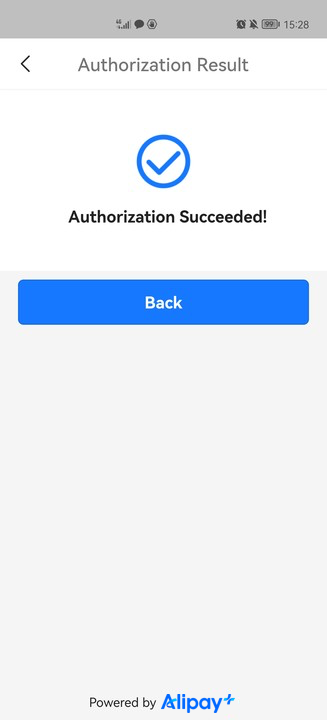
- Complete the authorization that is sent to your digital wallet, and then tap Back to return to the Auto Debit page.
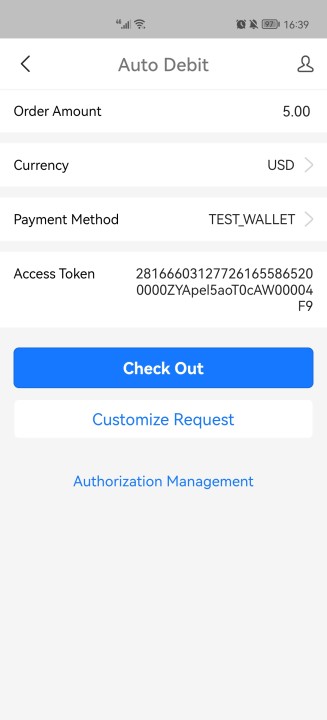
- Select an authorized digital wallet as the payment method. Then, the access token is automatically generated.
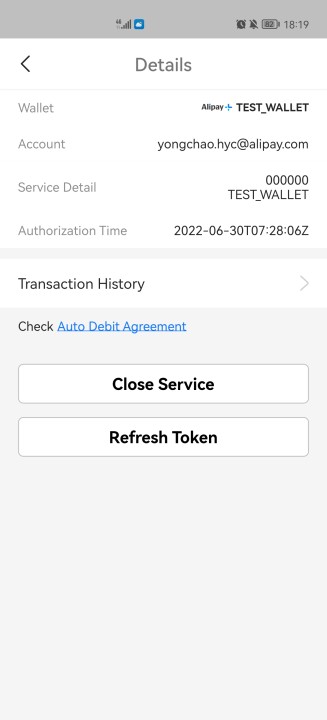
Moreover, if you want to deauthorize a digital wallet for Auto Debit, or refresh the access token, go to the Authorization Management page, select the wallet to view details, and tap Close Service or Refresh Token respectively.
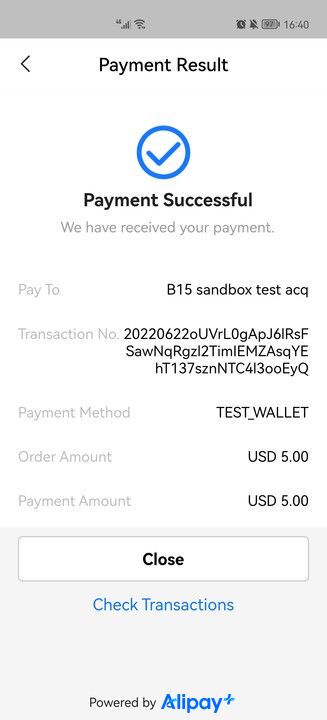
- Tap Check Out to complete the payment.
User-presented Mode Payment
User-presented Mode Payment occurs when the consumer presents the payment code to the merchant, and the merchant scans the payment code to initiate a payment.
To test User-presented Mode Payment via AMerchant, take the following steps:
- Tap User-presented Mode Payment on the Simulator page.
- The Scanner page displays the parameters that are required to specify to initiate a pay request. In the User-presented Mode Payment scenario, the pay API is used by the ACQP to send a request to deduct funds from the user's MPP account.
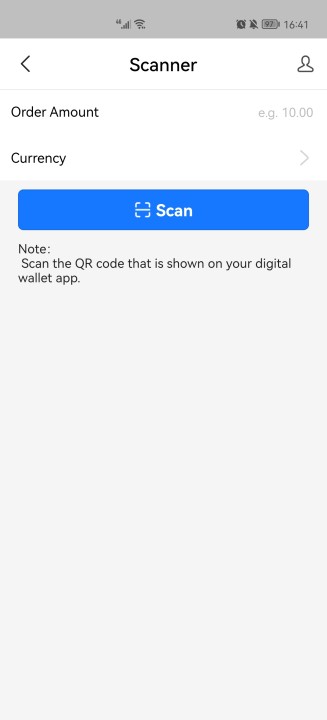
Fill in the following fields:
- Order Amount: Enter a value.
- Currency: Select a currency that you want to test.
- Tap Scan to scan the QR code that is shown on your digital wallet app.
- The payment result is displayed on the Payment Result page after the payment is completed.
Merchant-presented Mode Payment
Merchant-presented Mode Payment occurs when the consumer scans the QR code presented by the merchant (also called collection code) to complete the payment. The collection code can be an entry code or an order code.
To test Merchant-Presented Mode Payment via AMerchant, take the following steps:
- Tap Merchant-presented Mode Payment on the Simulator page.
- The Payment Code page displays the parameters that are required to specify to initiate a payment request. In the Merchant-presented Mode Payment scenario, the pay API is used by the ACQP to send a request to place orders.
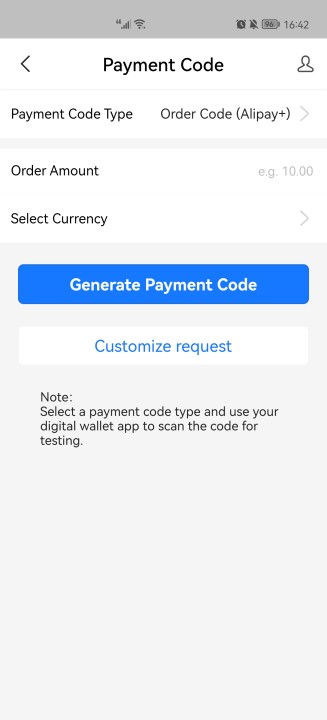
Fill in the following fields:
- Payment Code Type: Select the type of the payment code.
- Order Code (Alipay+): indicates that the payment code is an order code generated by Alipay+.
- Order Code (ACQP): indicates that the payment code is an order code generated by the ACQP.
- Entry Code: indicates that the payment code is an entry code.
- Order Amount: Enter a value.
- Currency: Select a currency that you want to test.
- Tap Generate Payment Code to obtain a payment code.
- Save the screenshot of the payment code and use your digital wallet app to scan the code.
- If the payment code is an order code, the code scanning leads you to the Payment Confirmation page.
- If the payment code is an entry code, the code scanning leads you to the page where you need to enter the order amount again. Then, tap Confirm to go to the Payment Confirmation page.
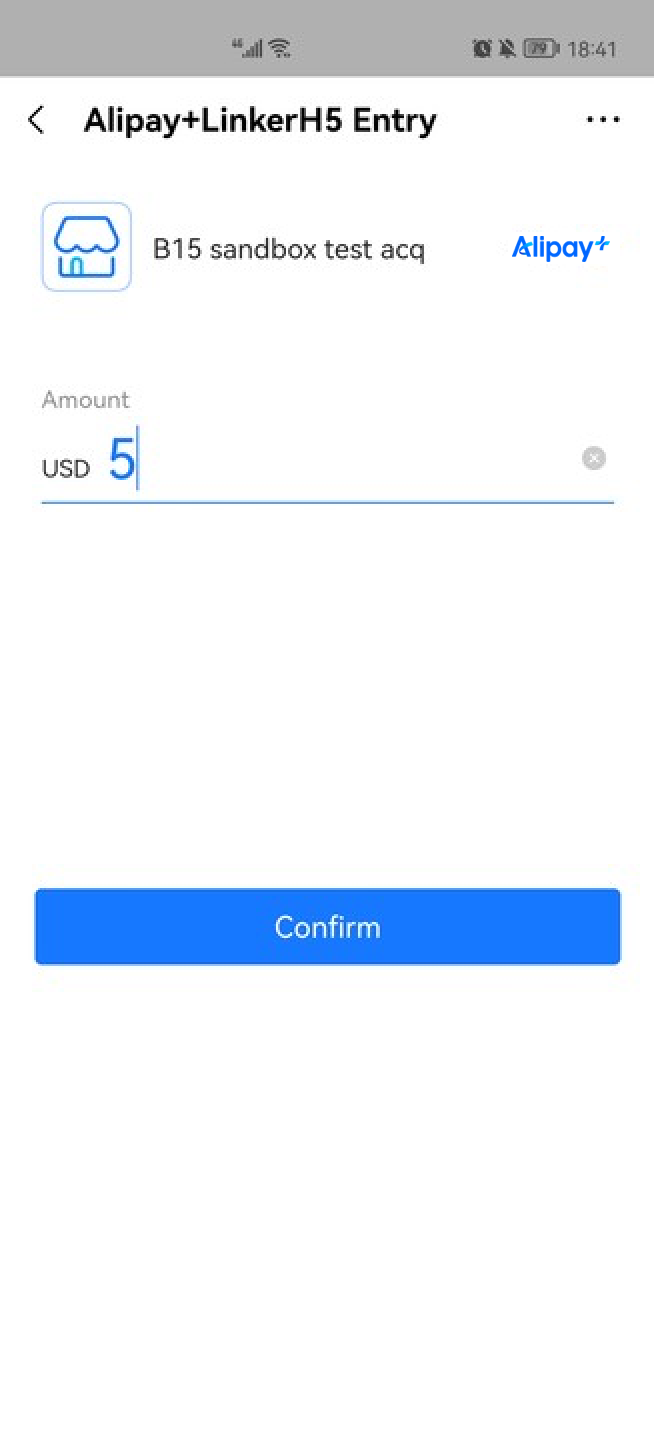
- Tap Pay Now to complete the payment.
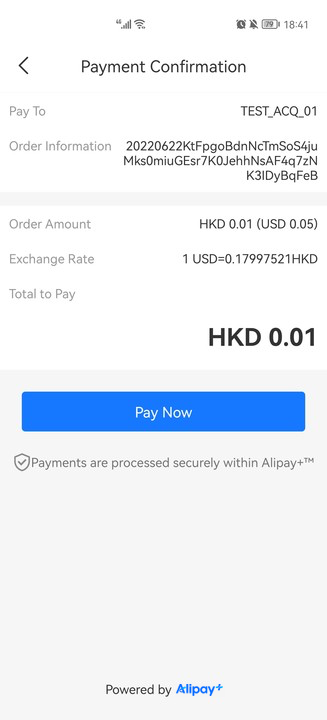
- Tap Done to go back to the Simulator page.
